Users


Users |
|
|
This Administrative function allows you to maintain security access information for Users in the system.
From the Main Menu move the mouse over Administration module and click the System Setup function Users:
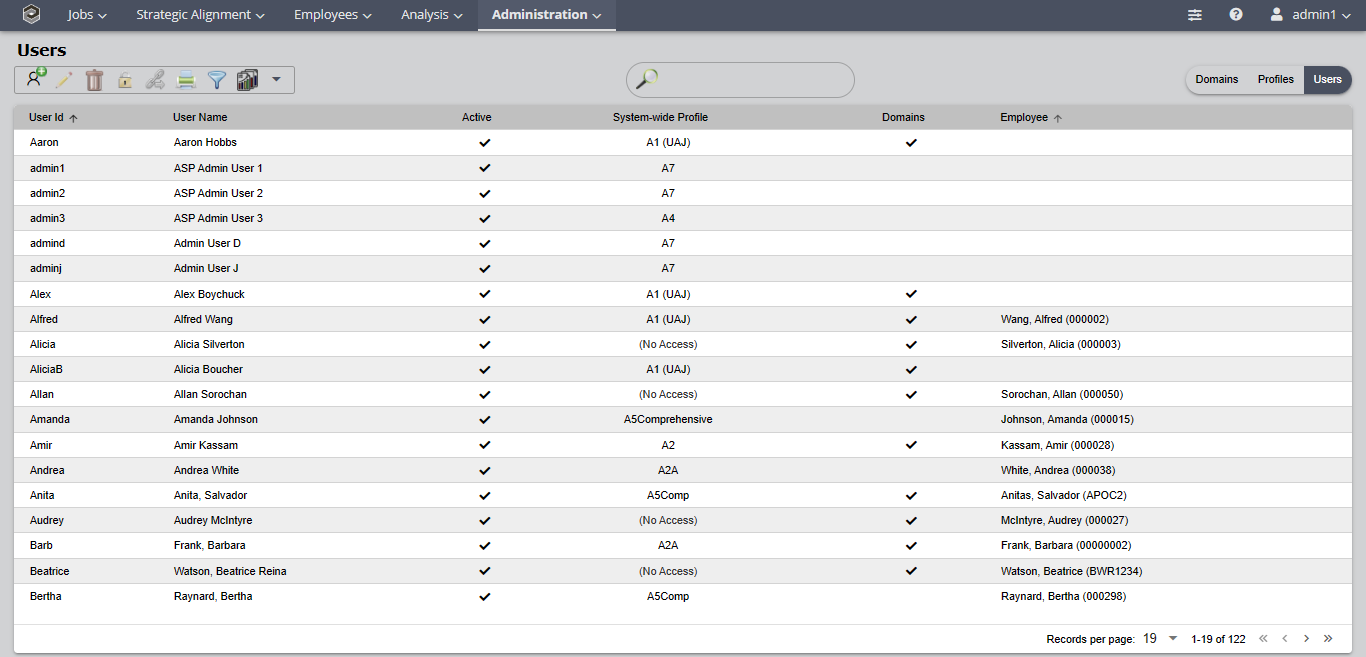
Users screen with domains linked to users. See Users-Domains
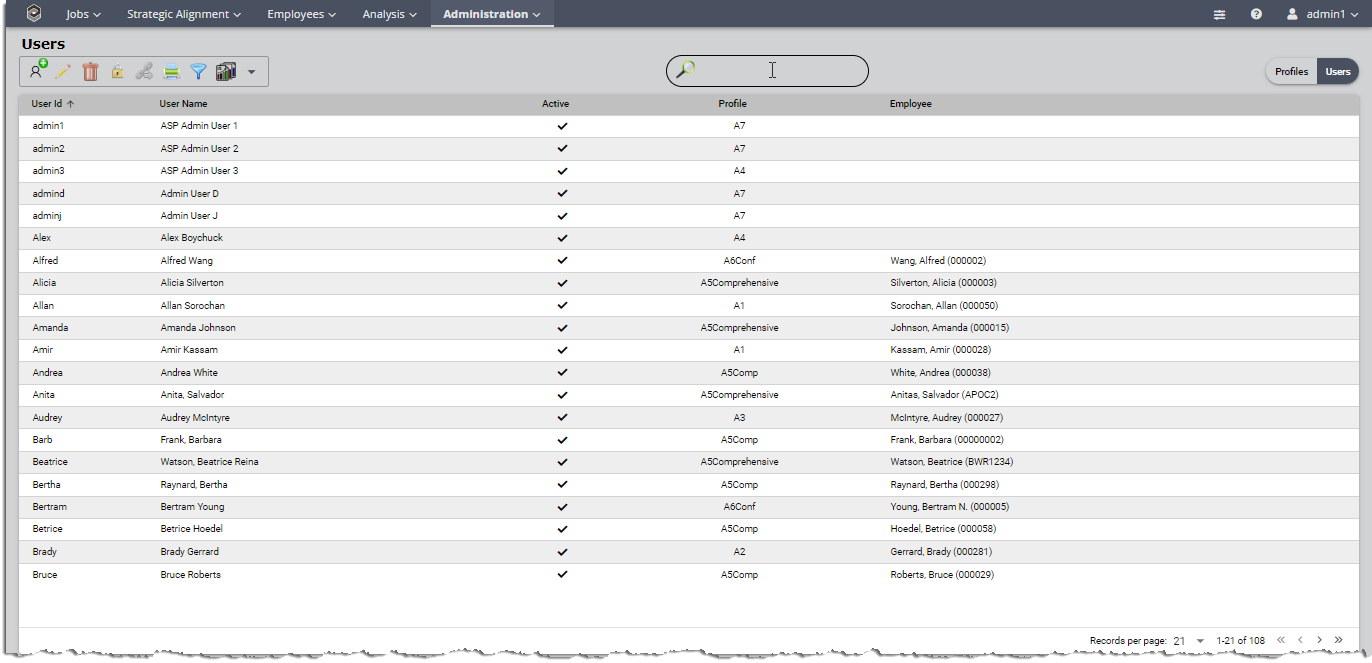
•The selected User is highlighted with a dark gray background. •The main Users screen shows the User ID, User Name, active status, assigned Profile and linked Employee. •Each column is sortable by clicking the column title. •Click on the arrows on bottom right of screen to move through the pages to see additional users or search by name or user ID. Note: The Retrieve on Demand (ROD) is no longer available. ▪Number of Users retrieved on pages depends on screen resolution and records per page. ▪Instant screen population of Users information independent of data size (from 100 users -100,000 users).
Tips: •Deleting a User ID does not delete the Employee the User is linked to or any of the records associated with the Employee (Work Plans, Reviews or Training Plans). •Sorting by the Profile column will allow you to see at a glance which users are linked to each profile. This is a quick way to determine whether you have assigned the appropriate profile (and associated level of access) to a User and will help you to identify whether you have users who are not linked to a profile.
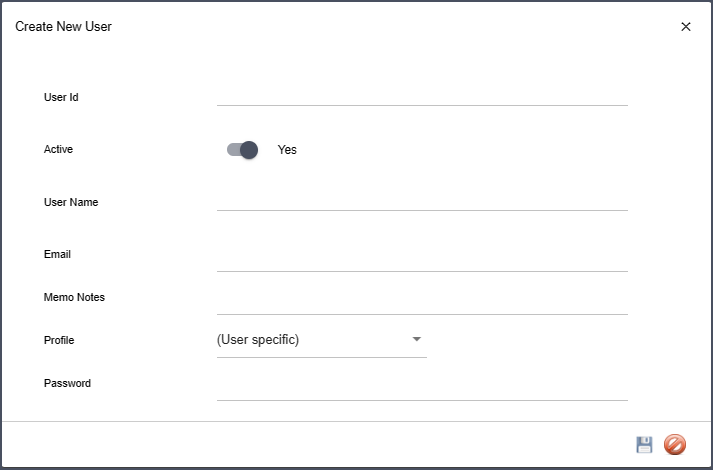
•In the Actions bar, select
•Input the User ID. The User ID is a primary key in the application and can not be changed. User IDs are case sensitive. •Add the user name. •Add the user's email address. •If you use Profiles to manage security access, assign the appropriate Profile to the User. See Profiles for more information. •See below to add custom security access. •Enter a temporary password. •Click Important Note: When a new user is added or their password is reset through the Change Password function on this screen, the password is considered a temporary password with an immediate expiry. This will force the user to change their password to something of their choosing the first time they log in. See the Password policy for details. Email addresses: Email addresses can now be entered and attached directly to User’s. This will enable organizations using Encompassing Visions (for Job Evaluation only) to have the software automatically reset and email a temporary password to the User through the new, secure system feature called ‘Password Reset’.
•When deciding what to enter in the User Name field, think about how you will search for and display Users. If you will be searching for users by last name, implement a standard of entering user names starting with the last name (e.g. Last Name, First Name). •Our recommendation is to select a User ID that is consistent among all Employees and also consistent with other applications within your organization. For example, many organizations use first initial, last name of the employee or their employee number as the user ID for other applications, so it makes sense to use the same thing as the User ID here as well. •It is recommended that you determine a standard for assigning User IDs at the time of system implementation.
•In the actions bar, select
•The User ID is the Primary Key for the Users table and cannot be changed. •To make a User inactive, slide toggle from 'Yes' to 'No' •Make necessary edits to the User Name or Profile. •Click
Tip: To change the User ID attached to an Employee (for instance, in the case of a name change), create a new user ID for that Employee, attach the Employee to the new User ID, then delete the incorrect User ID.
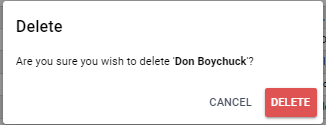
•In the actions bar, select •A confirmation message will pop up:
•Click •Click the
Tip: Use of profiles to define access levels can greatly reduce the amount of administrative maintenance required for User IDs by removing the need to assign access levels for every Security Function to every User. We have provided what we feel are the most common security groupings in our default profiles, but you may customize these to meet the needs of your organization.
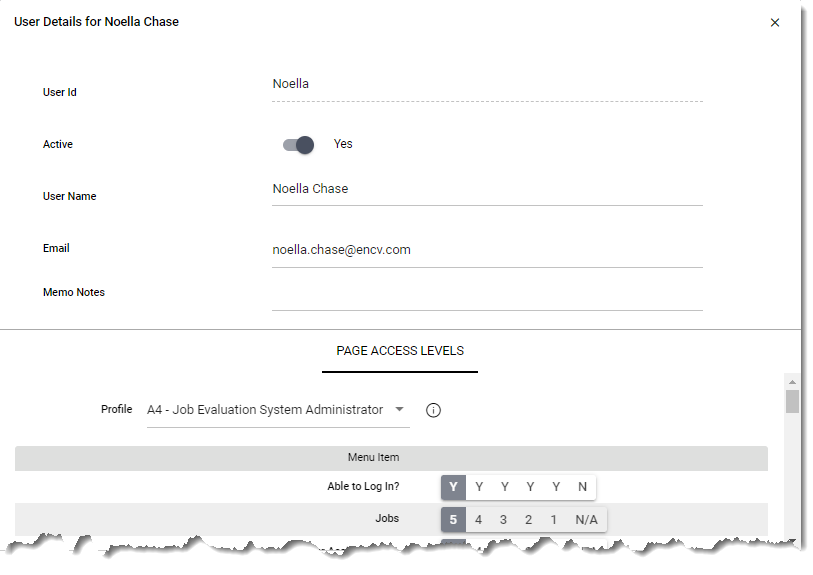
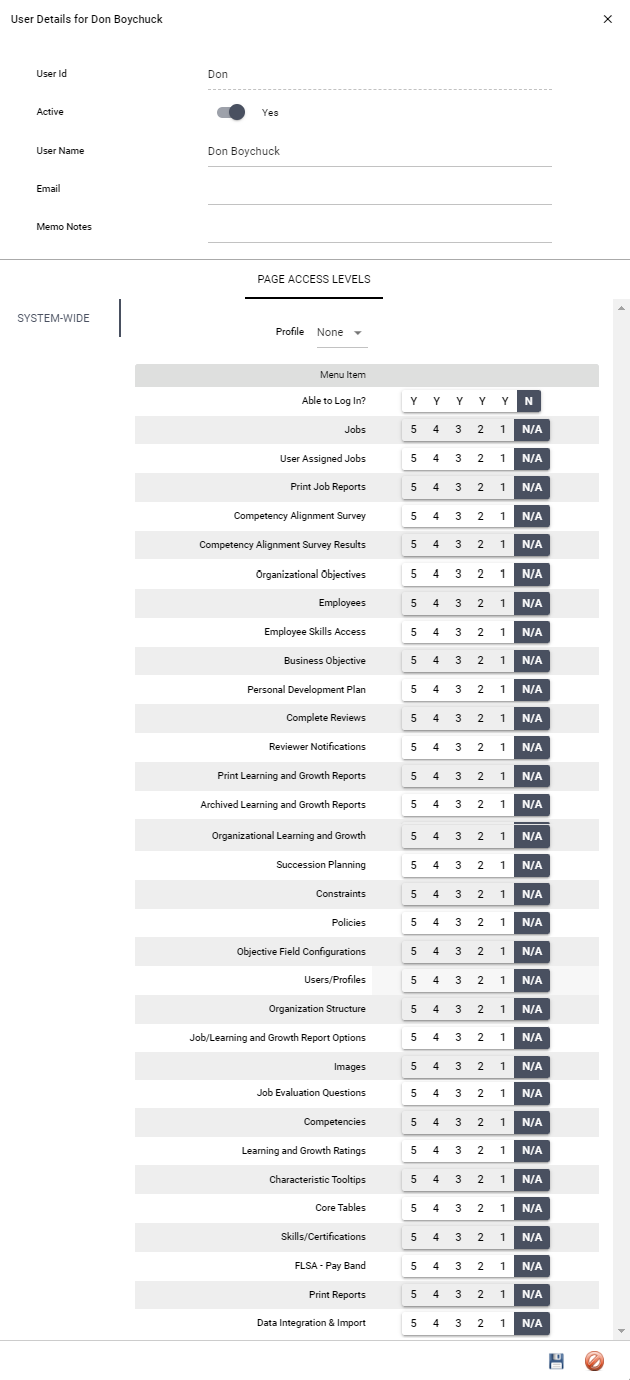
To customize access rights for the application: •Double click on the selected User.
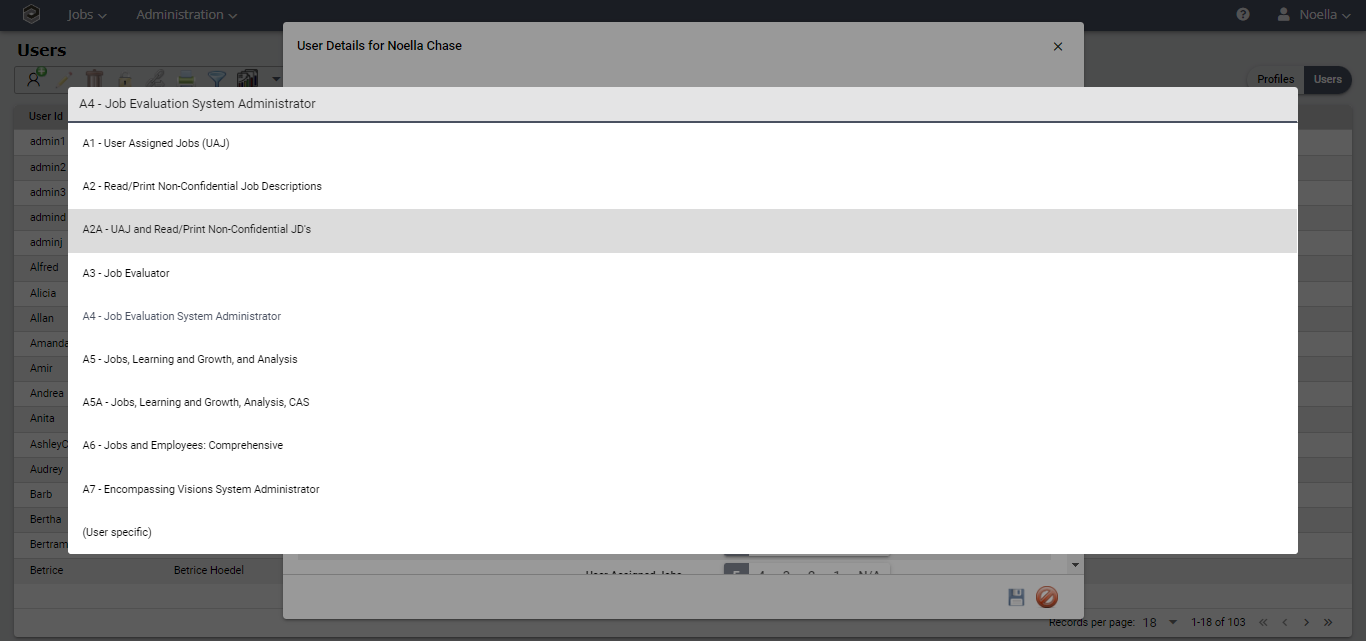
•In the Profile field, select None - User Specific from the pick list. •The Access Level details will appear below the memo notes.
•Select the appropriate response for each menu item (page). See Security Modules for a list and descriptions of the menu items. •Click
Access level is the level of security or permissions provided to the user for a particular function. There are five possible values: N/A - No Access Rights. This allows no access to the function. Most users with limited access will have no access rights to most of the functions in the system. 1 - Read-Only Access Rights. This level allows a user to access a function and read the information but not update it. Buttons that would permit editing are disabled. 2 - Update Access Rights. This level gives a user the right to make some editorial changes in text fields but does not permit adding or deleting records. 3 - Update/Create Access Rights. This level gives the user to add, edit and delete records in a module. This is the minimum level of access required to perform most data entry functions in the organization. E.g. Organizational Objectives, Completing Core Surveys, Completing Automated (Job) Questionnaires, Creating Employee Work Plans, Completing Learning and Growth Reviews, Creating Training Plans. 4 - Full Access Rights including Confidential. This level gives the user rights to add, edit and delete records in a module including access to Confidential Jobs. 5 - System Administrator Functions - Restricted Access. This level gives the user rights to add, edit and delete records in all functions including access to Confidential Jobs. This access level is necessary in order to view the Administration module on the Main Menu.
Note: Access to various elements of the system dictates specific menu items that can be seen or are hidden. For example, a User who has N/A access to Work Plans will not see that menu option even if the System Policy is set to YES.
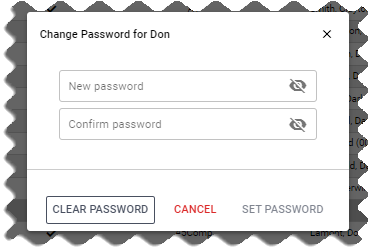
•Select the User Name. •In the actions bar, select
•Enter the new temporary password. Passwords are case sensitive and must meet the password policy below. •Click
Temporary Password When the system administrator assigns a password for a new Employee, or changes the Employee's password, the system requires that the Employee change the password upon first log on. A temporary password assigned by the system administrator must be a minimum of 6 characters (alpha, numeric, symbols) and may be reused.
Complex Password Some organizational procedures require complex passwords for access to software applications. If that is a requirement for your organization, the policy: Do you require passwords to be complex? should be enabled. This will force a user to set a complex password when they log in the system. If the policy is set to no, the temporary password requirements (above) are enabled.
Complex Password requirements: •Must be a minimum of 8 characters, and, •Must contain at least 3 of the following 4 character types: 1.Uppercase character 2.Lowercase character 3.Numeric character 4.Special character (such as #, $, %)
The
|