Interacting with Encompassing Visions


Interacting with Encompassing Visions |
|
|
The following topics show you the various ways to navigate and interact with Encompassing Visions.
The Encompassing Visions tool bar was transitioned from the 'Red Back Arrow and Book' tool bar to a new multi-function tool bar that appears at the top of the screen.We continue to update with smaller icons and new functions if the version requires it.
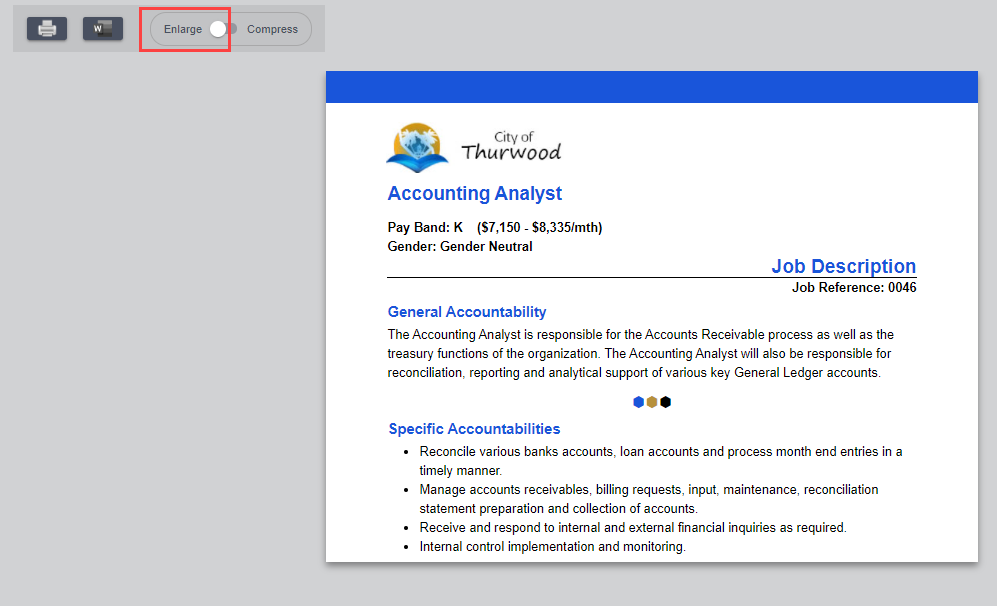
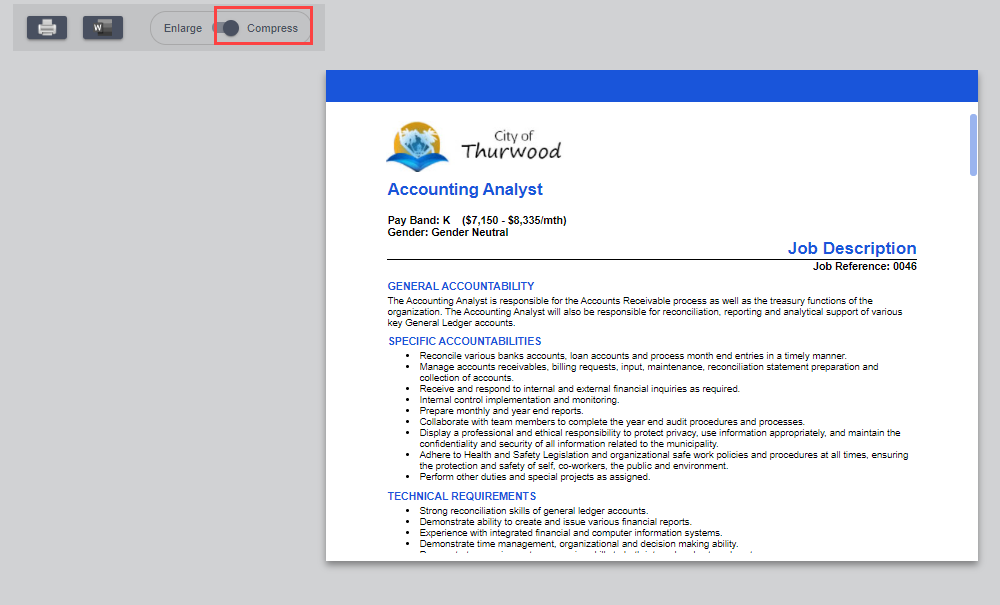
NEW as of version 2021.1.0 Font size and compact mode toggle for selected reports.
ex.
Home Return to the Main Menu using the ENCV icon on the navigation bar.
Help Open the Help using the Help button on the tool bar.
Archive or Data Import
Reports can be exported to Word, printed in PDF format or saved as HTML. (If required, additional changes and formatting can be done to your Job Descriptions/Postings/Selection Interview Questions)
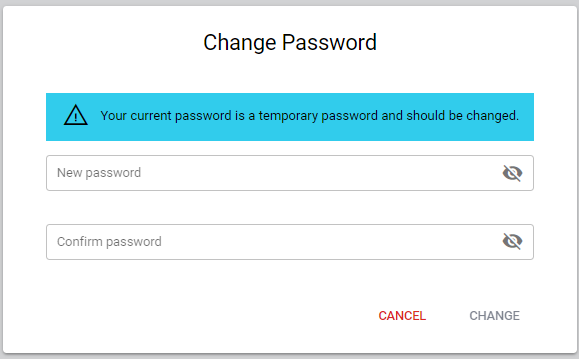
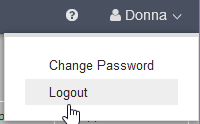
Any user can change their password by accessing the Change Password, in the navigation bar of the main menu, located in sub-menu when hovering over your name. All users must change their password upon first log in. Passwords must be at least 6 characters in length (alpha, numeric, special) and can be reused. By default, Encompassing Visions will not allow passwords to expire but the system can be customized by the Administrator to force passwords to expire after a certain number of days. System Administrator: Click
1.Enter the new password and repeat for verification. 2.Click OK to save the change. 3.Click Cancel to close the Change User Password screen without changing the password.
Important Note: Passwords are case sensitive.
Return to Previous Tab There are some main functions that open another list to display information (e.g. viewing the skills linked to a job in the Jobs function). Those screens require a way to return to the original screen.
The
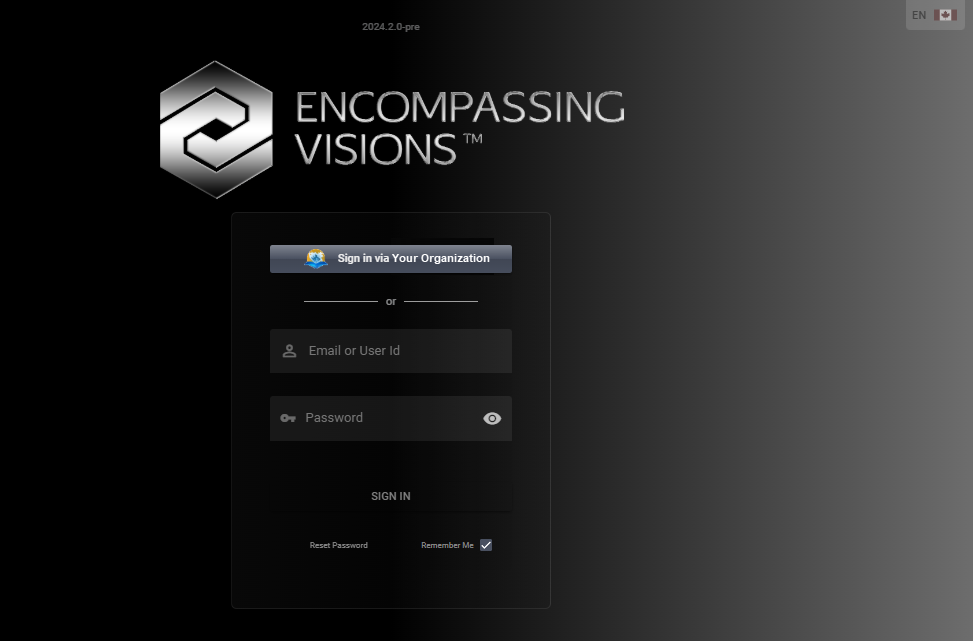
Login/Logout Login via SSO integration using one set of credentials
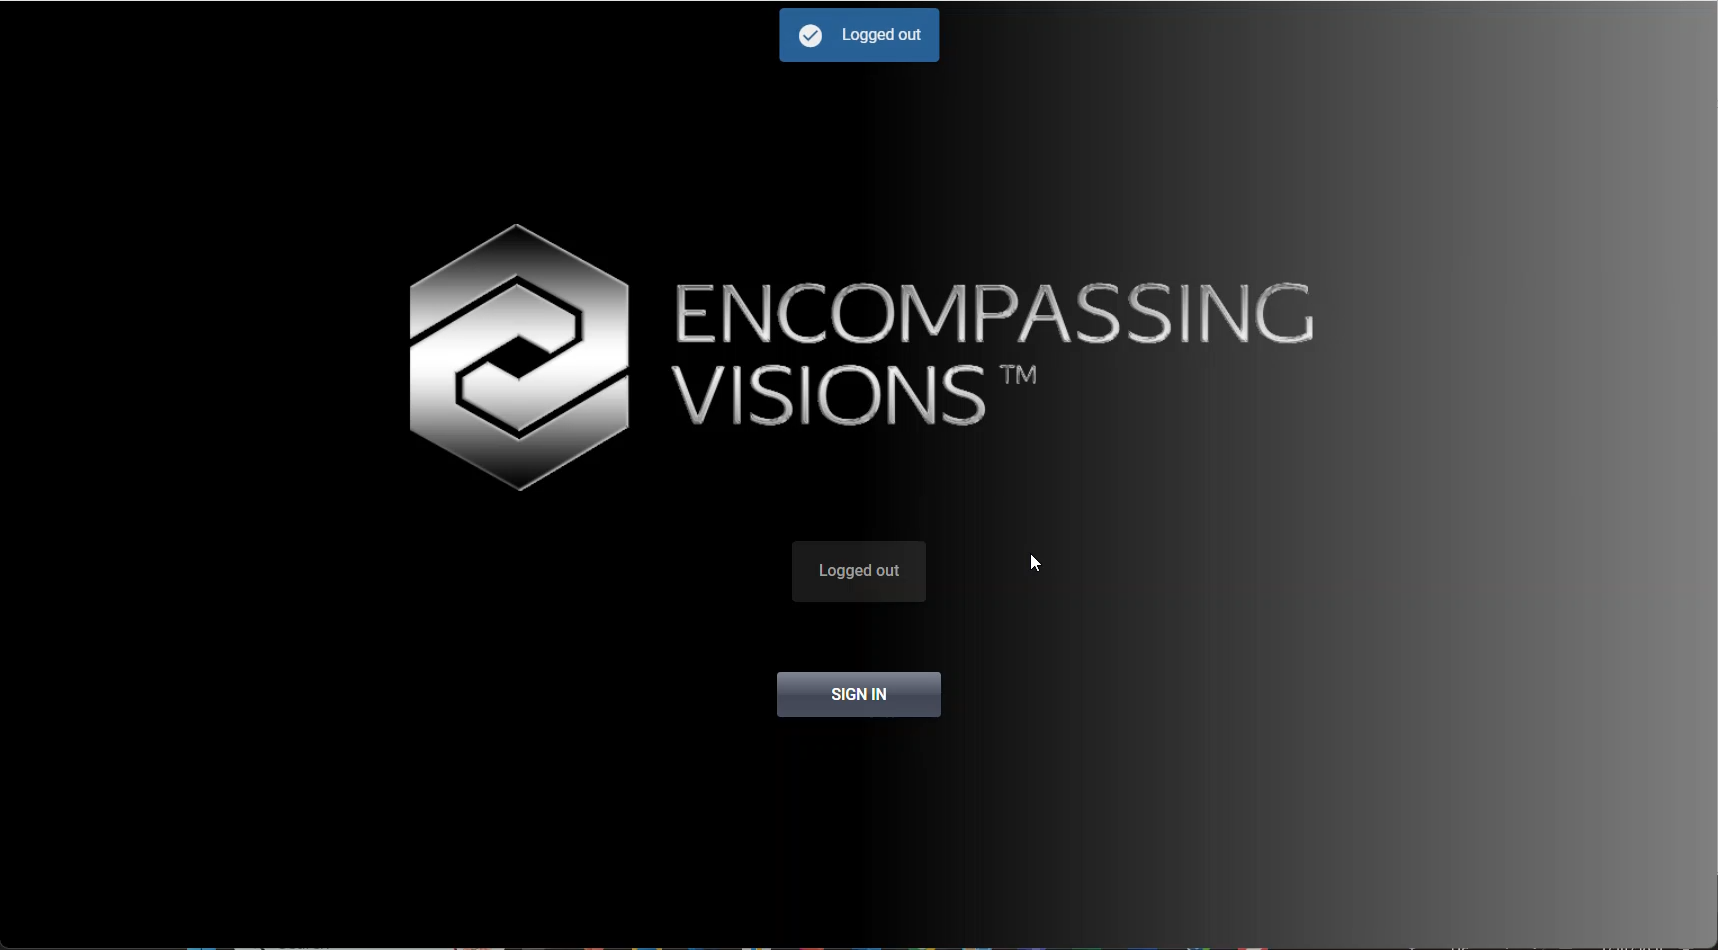
Logging out of the application generate a screen advising you of the logout and allowing you to log back in:
Tool tips display when you hover your mouse over a row, button or image. The purpose is to provide further explanation or detail about the item selected.
For example, the tool tip for the Home button on the Tool Bar is 'Return to Home Screen' when in another location of the application.
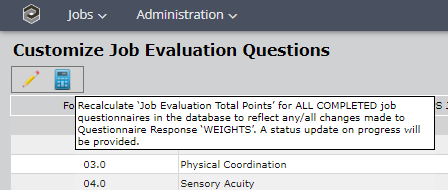
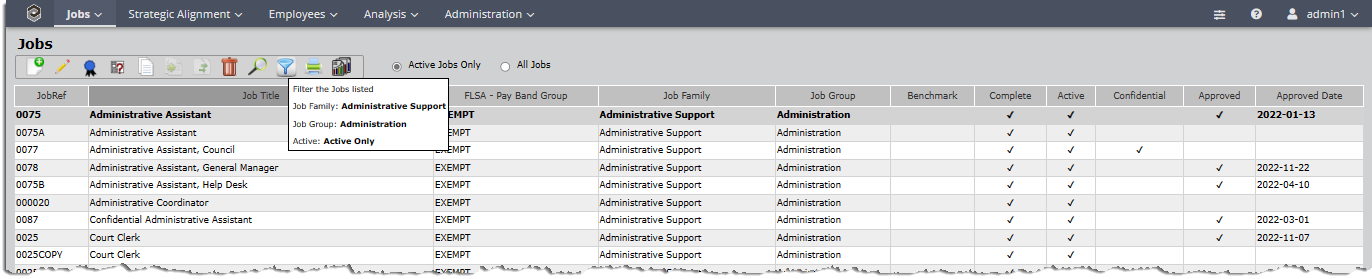
When a tool tip needs to display longer than usual, it will appear in a shaded box and will remain visible until you move your mouse off the button.
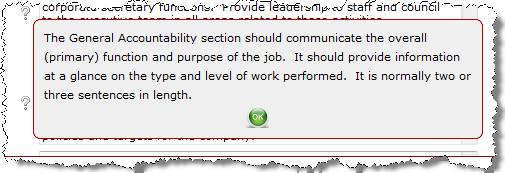
Balloon help is similar to a tool tip in that it provides more information about an item. However, it won't disappear until you close the window.
The
Click the
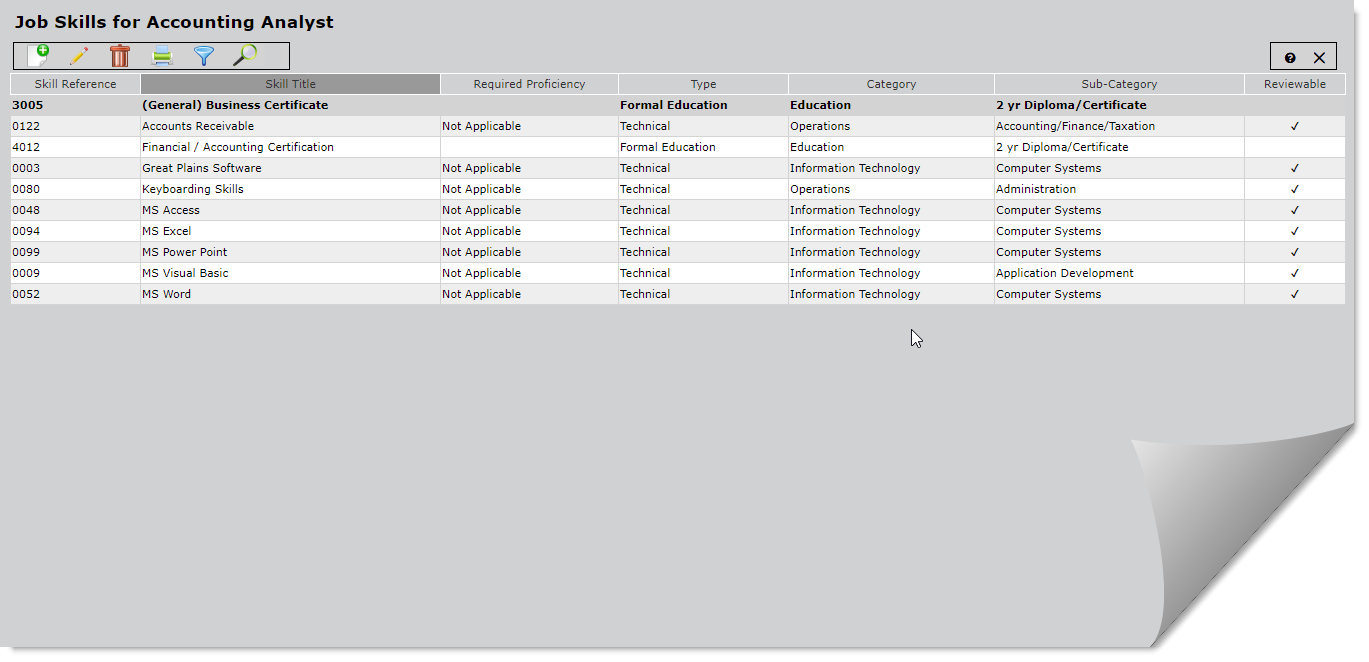
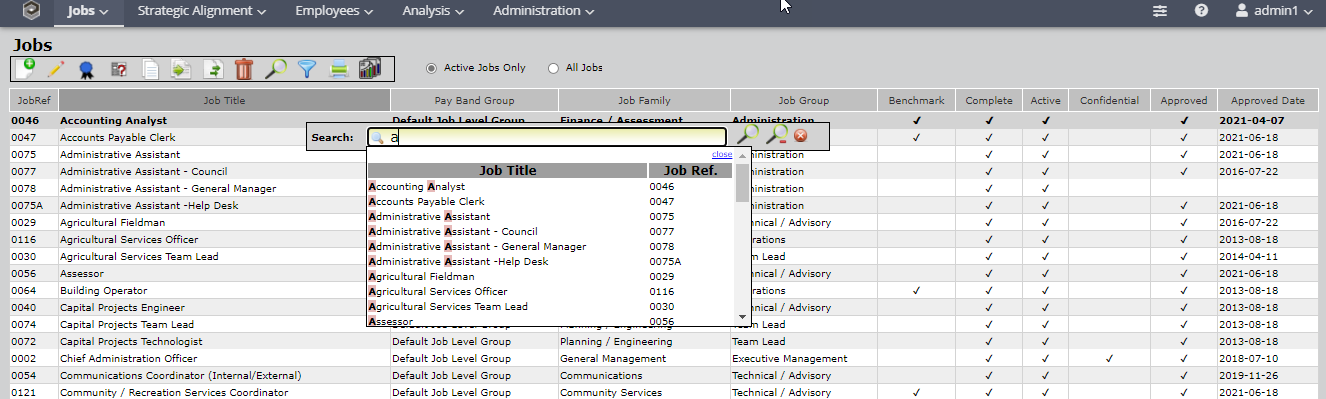
The Search box allows you to find specific items in the list. For example, in the Jobs function:
The instructions inside the box will tell you what you can search for. In the case of jobs, you can search by Job Reference or Job Title. To initiate the search simply type into the box and the system will find the matching entries.
To search for all of the jobs with 'Accounting' in the Job title, begin to type Accounting in the search box. With the letter 'A', all of the jobs that have an 'A' at the start of a word are returned in the list:
•The 'A' matches are highlighted in pink. •Use the scroll bar to scroll through the list.
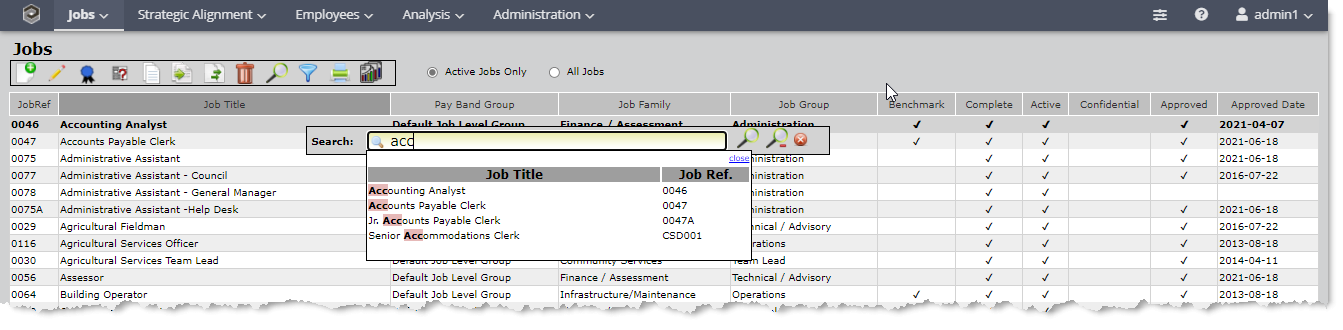
When the 'cc' is added to the text in the search box, the list is narrowed down to those job descriptions with 'acc' at the start of a word:
Moving your mouse over a line will highlight it in green.
•To select an item from the search list, click anywhere in the line. •Click •Click •Click
Note: The Search box and Filter box results interact with each other. If the list has been filtered using the Filter box then the items found in the Search box will only include those that also match the filter.
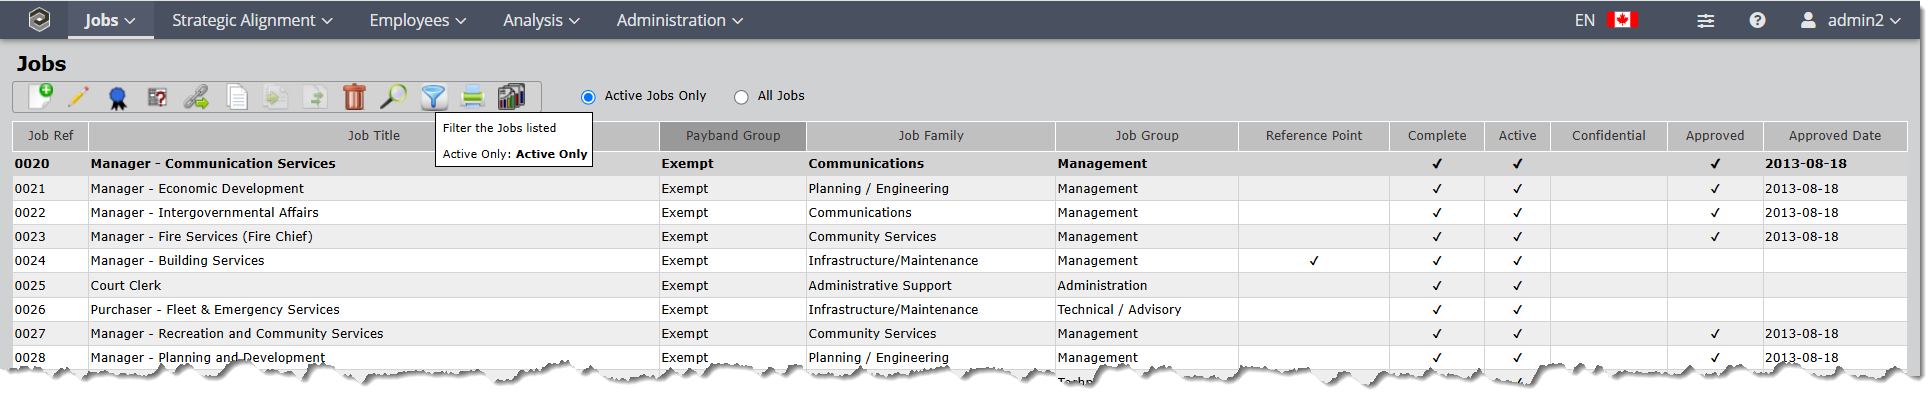
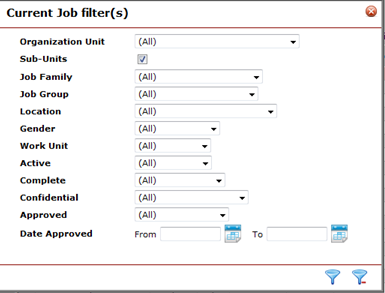
The Filter box allows you to filter the records displayed on the list. It is used when there is more than one filter applied to the screen. When there is only one possible filter, the screen will be filtered using radio buttons in this location instead of a filter box. If there are no filters to apply then no filter box is shown.
If a filter has already been applied to the list, hovering your mouse over the
If no filters have been chosen the tool tip will say:
Click
This window will stay open until you close it using the You will notice that when you move your mouse around inside this window the cursor changes to a •Click •Click
Note: The Search box and Filter box results interact with each other. If the list has been filtered using the Filter box then the items found in the Search box will only include those that also match the filter.
The action box contains the buttons that control any actions that can be performed on the selected record or to the data.
The tool tip displayed will always identify which record will be affected by the action. A sample of actions that can be performed are:
Other buttons may sometimes be in the Action box. Those will be explained in the Help section related to the screen. The tool tip that appears for that button will always explain the purpose as well.
Pick List Opening the pick list (by clicking on the
Each entry in the list will have a tool tip that explains what the entry does. Click
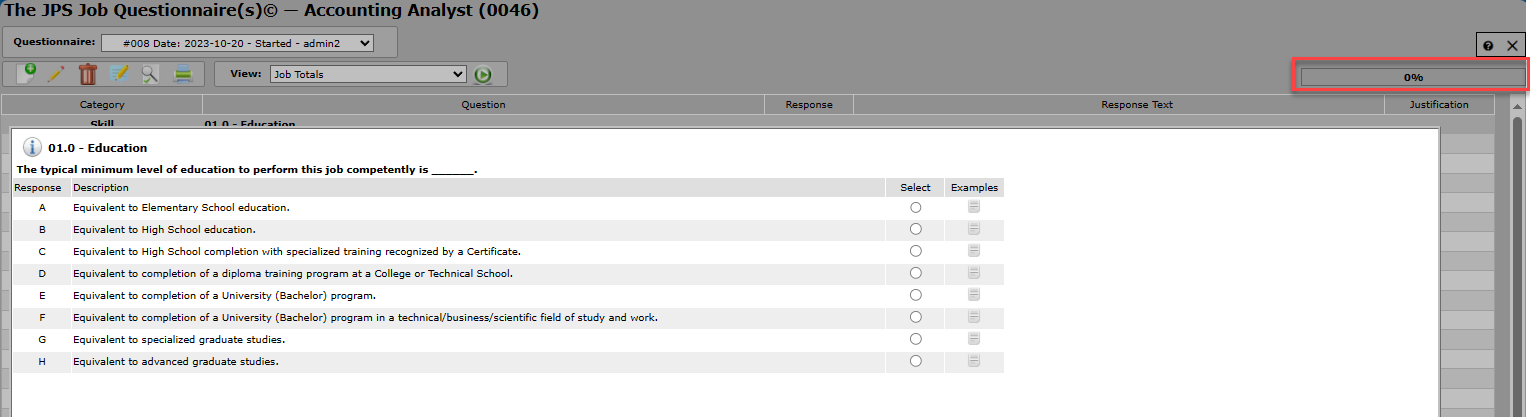
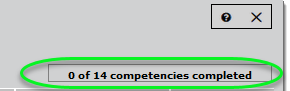
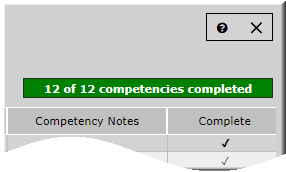
New functionality added to the Job Questionnaire: As the user progresses through the questionnaire it will indicate the percentage of the questionnaire completed which visually shows them where they are in the completion of the Questionnaire.
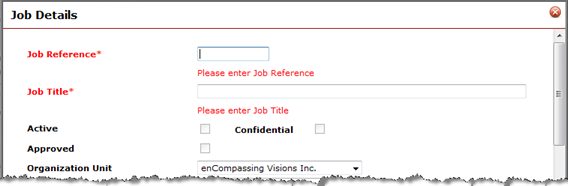
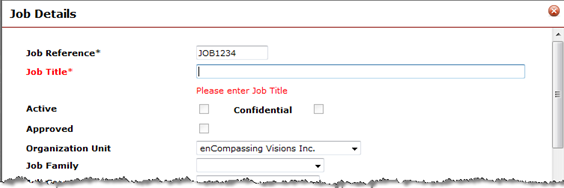
Error messages are displayed using a standard method.
If the user tries to save a record without entering all of the mandatory fields, a details screen will expand to display the error message and the field name will turn red. The cursor will automatically position in the first field that contains an error. Complete the required information and tab or mouse out of the field to remove the error message.
Click
The application will highlight the following errors: •Missing mandatory fields (all mandatory fields are identified with an *). •A primary key (e.g. Job Reference or Skill Reference) that already exists in the database. •Special characters in the primary key field (all primary keys must be alpha-numeric only).
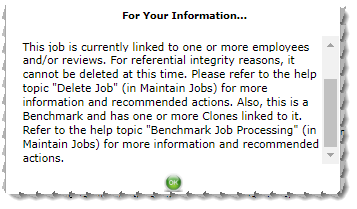
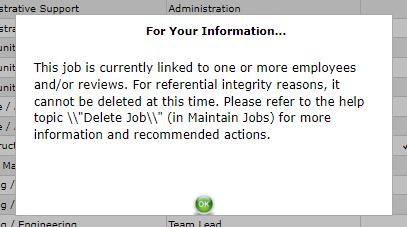
Message Windows A standard message window used to display informational messages, ask for confirmation of an action or provide additional information required to continue the process.
This window explains why an action cannot proceed or provides additional information.
Click
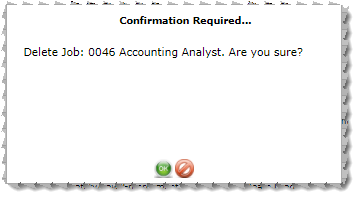
This window asks you to confirm an action before proceeding. It also provides any additional information needed to help you decide whether to proceed or not.
Click Click
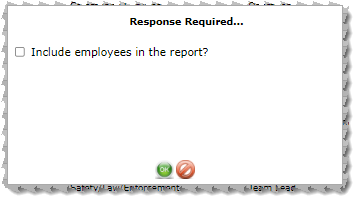
Response Required Message Window This window asks you to provide additional information that the system needs in order to continue. It is usually used for report parameters.
Check Click Click
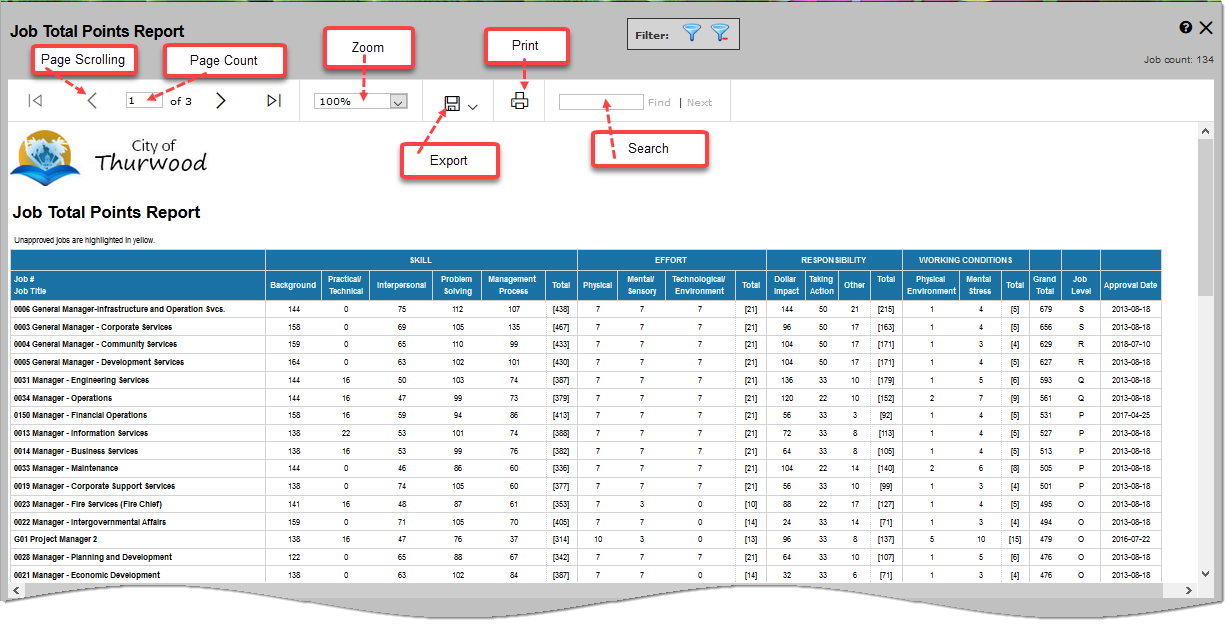
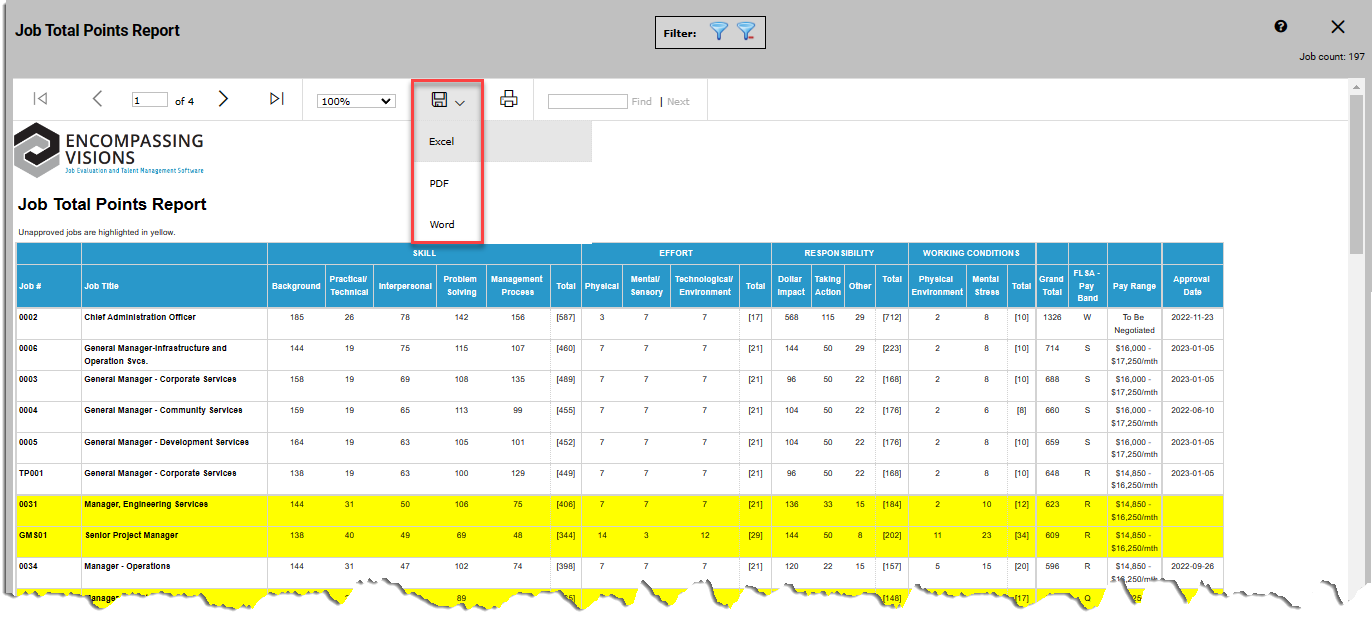
"Microsoft Report Viewer" has been updated with their latest version. Note: The increased speed, advanced paging and exporting features of Microsoft Report Viewer. The Report Viewer is the screen used to display reports generated by the Report Viewer. This screen allows the user to move through the pages of the report, re-size the output, search and export.
Currently, these four reports utilize Report Viewer to generate a graphical display of the results: •Job Competency List •Job Total Points •Competency Alignment Survey Results •Succession Planning Results •Organizational Learning and Growth Dashboard •Employee Learning and Growth Dashboard
Click
From most screens, you can compare results by having multiple Report Viewer windows open at the same time. For example, to compare the Competency List for two jobs, choose the first job and generate the competency list then choose another job and generate the competency list. This will open two separate Report Viewer windows and you will be able to move the windows around on your screen to compare the results.
Note: Remember to close the Report Viewer window(s) when you are finished. The system doesn't close these windows automatically - even when you log out of the application.
Scrolling •The •The
Page Count This tells you which page you are on and the total number of pages in the report.
Re-size Choose an option from the pick list to change the size (zoom in or zoom out) of the information in the display.
Search •Type the word or words you want to search for the box and click Find. •Click Next to find the next occurrence. •The search will not find matches within the graph pages; only the supporting detail tables.
The Export function is used to save and print Reporting Services Reports. Encompassing Visions currently supports PDF, Excel and Word file formats.
•Save by exporting to the desired format. •When the report has been exported, it can then be printed from that application. •Exporting to PDF will require that you have a PDF reader available. •Exporting to Excel or Word will require that you have Microsoft Excel or Word available
To export a report: 1.Click the Export icon. 2.Select the format to export. This will enable the 'Export' function.
Most of the reports in the system are displayed in a browser window with the option to Print, Save or Export to Word the reports. We refer to this as the Report Frame.
•Click the Print Report button to open the standard print screen, select your printer and print the report. •Click the Save Report button to save the HTML file in Download folder. •Click the Export to Word icon to export your report to Word if available on the screen.
Notes: •This report window can be resized to widen the display of the information in the columns. If the data all displays on the screen in the default size then the report will fit in a Portrait layout. If it does not fit on the screen in the default size then you will want to print the report Landscape. •This report viewing window can be opened multiple times if you choose multiple items from the list and execute the report. This will allow you to compare the results from two different items. However, you must close the windows manually yourself as the system will not do it for you - even if you log out of the application.
The saved reports can be opened with: •Your browser •Microsoft Word •Microsoft Excel
The report is saved with all of the formatting so when you open the report with a different tool, it will still look the same as it did when generated in Encompassing Visions.
When opening the saved report from your file list in your browser, select the file and choose 'Open With' from the File Menu and choose the desired program. Reports are saved in HTML format and, by default, will open in the browser if you do not choose an alternate program.
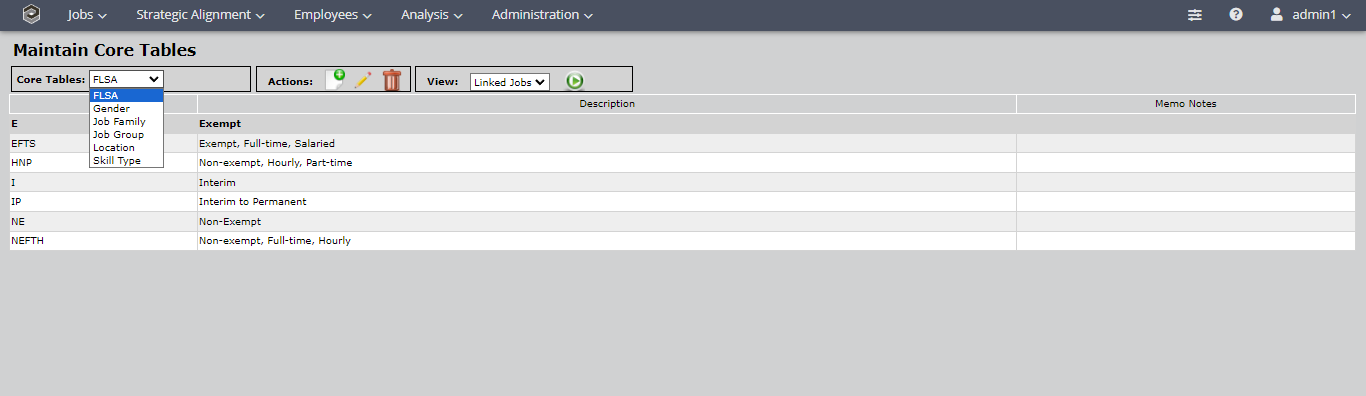
Lists Encompassing Visions data is typically displayed in lists. Lists represents information in Drop-Down Menu format. To select, click the desired entry.
Employee Lists There are several functions in the system that start from or display an Employee List. By default, the Employee ID is not included on these lists in the non-Administrative functions and all of the pictures of Employee Lists in these Help pages may or may not exclude the Employee ID. However, the System Administrator can turn on the display of Employee ID on all of these lists. Employee ID is always shown on Employee lists in the Administrative Functions.
When the Employee ID is included in the list: •It is always the first column •The Employee ID option will be enabled in the Search box (if available) •It will be the default sort order for the Employee list •Clicking the the Employee ID column heading will sort the list by Employee ID
Administrator Note: The System policy: Employee Settings > Reports: Show Employee ID on Non-Admin Screens and Reports? enables the Employee ID display. The application default is NO.
Select an item (Row) on a list by clicking on any text in that row with your mouse button. The selected item is displayed at the top or bottom of the screen.
•When additional pages of information are available, scroll buttons are used to allow you to move forward and backward one page at a time. •The << button moves backward and the >> button moves forward. •The scroll buttons usually appear under the bottom left corner of a grid.
Changing the Sorting Order of a List Some lists allow you to change the sort of the data. If the mouse pointer turns into a hand when you hover over a column header, you can sort the list by that column by clicking on the column header:
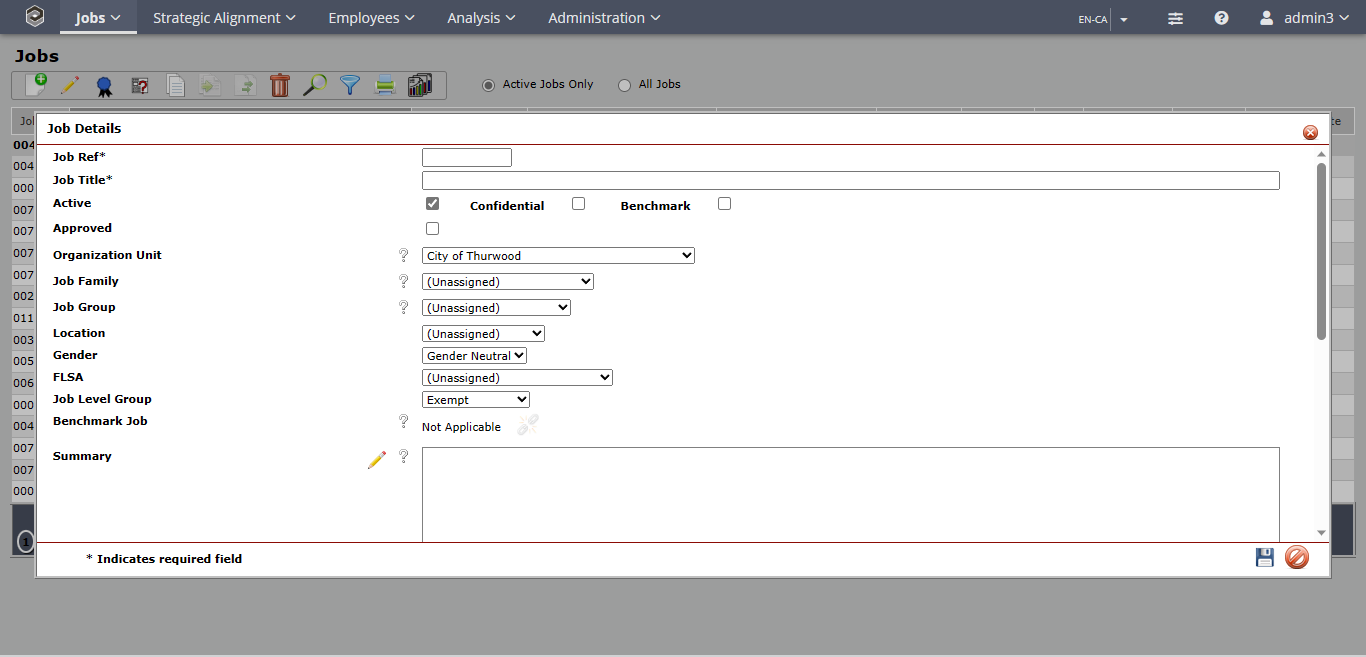
Detail Screens and Fields When an item from the list is editable, a detail screen (or Dialog) is used to actually change the details of the entry. Double-clicking a row on a list will invoke the screen for editing the information.
Note: There may be a corresponding View Actions menu item that will invoke the edit screen for the selected row.
There are many different types of fields in the system. This section explains how to use all of the different types of fields.
The white fields on the form are data entry fields for textual information.
•You can move from one field to another by clicking with your mouse or hitting the <Tab> key on your keyboard. •Grey fields contain predefined information that cannot be changed (they are disabled). •Fields that allow large quantities of data will have a vertical scroll bar on the right side. •You may check the spelling of the information entered into all text fields on the screen through the browser's spell check. •You can paste text into these fields from another source or manipulate the text in the field using standard cut, copy and paste functions (<Ctrl+X>, <Ctrl+C>, <Ctrl+V>).
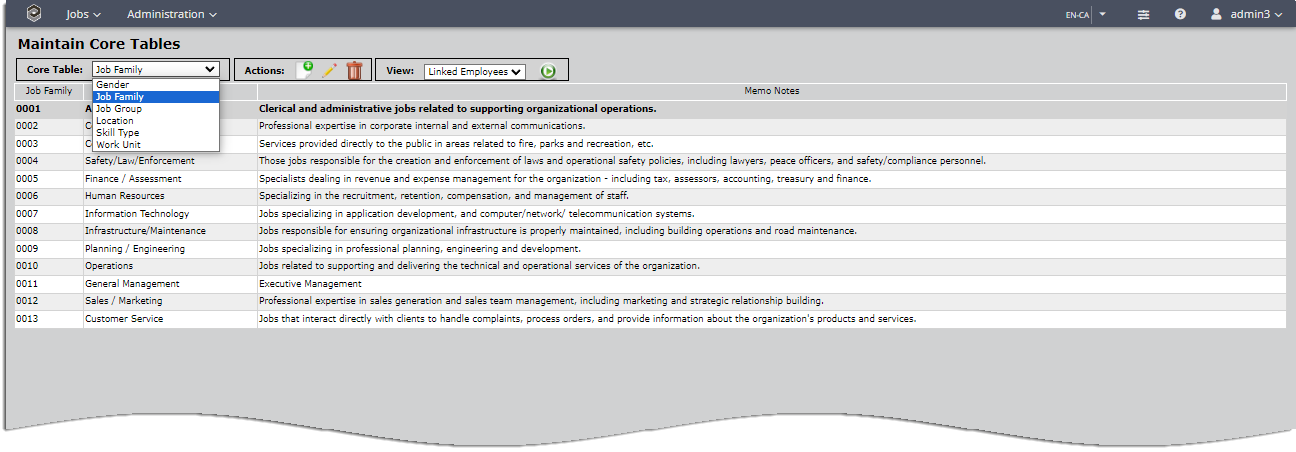
Drop Down Lists (or Pick Lists) Drop down lists are used when there is a pre-defined list of choices for a specific field. Typically, a drop down list would be used when there are many possible selections.
•Click the down arrow to the right of the field to open the list. •Click the desired entry or use the up and down arrows on the keyboard to move through the list and press enter to select the desired entry. •These lists will have elevator scroll bars if they have many entries.
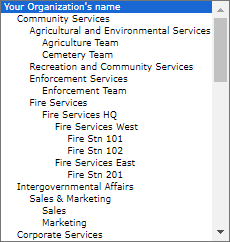
Selecting an Organization Unit, when using the Organization Structure folder hierarchy, is done using a Pick List. This is a special Pick List because it shows the Organization Units as entered in the Organization Structure.
•Click an entry to select it. •The list will have vertical scroll bars if it is longer than can be shown on the screen.
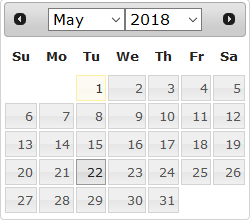
When a date is to be entered, you have the option of entering the date by typing it (always in YYYY-MM-DD) or using the Calendar. The
•The Calendar opens with today's date as the default. •To change the month or year, click on the drop down arrow to the right of the box and click to choose a different value from the drop down list. •Click a day on the calendar to choose a different day. •The selected date shows in the box •Date is automatically saved once the day is selected. Note: The selected day is shown in White with a black border in the calendar.
Check boxes are used to turn something on or off or make selections. They are also used in the system to show active or inactive status.
•When the box is checked •When the box is unchecked •Clicking in the box changes the selection in the box.
Radio Buttons are used to make a choice between options for a mandatory field.
•Make a selection by either clicking in the circular button or on the text beside the button. •The selected choice will always have a dot in the middle.
Tip: if you hover your mouse over the button or text, tool tips for the selection will be shown
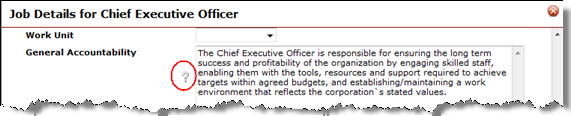
Descriptions and Definitions (or more information) Many of the screens have additional information about the field. The This information is provided by clicking on the For example, in Jobs you can see the definition of the General Accountability field.
Available through your browser options. Whenever a Delete function is executed in the system, a message will be displayed asking the User to confirm the delete. Often this message will also include additional information about what will be deleted or any important notes to consider prior to deleting a record.
•Click OK or Yes to proceed with the deletion. •Click Cancel or No to cancel the deletion.
Almost all of the functions make use of Memo Notes to provide additional information. •When the Memo Notes field won't fit right onto the data entry screen, they are displayed in a Memo Notes screen and accessed using a Memo Notes button - either on a View Actions Menu or directly from an edit screen. •Memo Notes are free-form text and can be any length. •When a separate screen is used for entry of Memo Notes, the same screen is always used:
•Enter the desired information in the text box. •You can paste text into these fields from another source or manipulate the text in the field using standard cut, copy and paste functions (<Ctrl+X>, <Ctrl+C>, <Ctrl+V>). •Click •Click
Alternate Terms The Administrative User has the ability to customize many terms within Encompassing Visions during the initial set-up of the software. This allows terms utilized in the functions of the application to be customized to reflect terms used within your organization. However, the Help pages still refer to the default terms supplied during the installation of Encompassing Visions. You will need to contact your Administrator if you are unclear on the use of a term within the system. The following is a list of the terms that can be customized in the system:
•Job Family •Job Group •Job Level •Work Unit •Job Description •Job Posting •General Accountabilities •Specific Accountabilities •Technical Requirements •Nature of the Work •Benchmark •Selection •Importance Rating •Business Objective •Professional Development Objective •Level of Importance •Degree of Difficulty •Resource •Resource Category •Baseline •Target •Goal •Stretch •Bonus Eligible •Category •Actions •Employee Actions •Lead Actions •Due Date •Percentage Weighting •Key Objectives (Short) •Key Objectives (Long) •Short Term •Long Term •Objective •Bonus Goal |