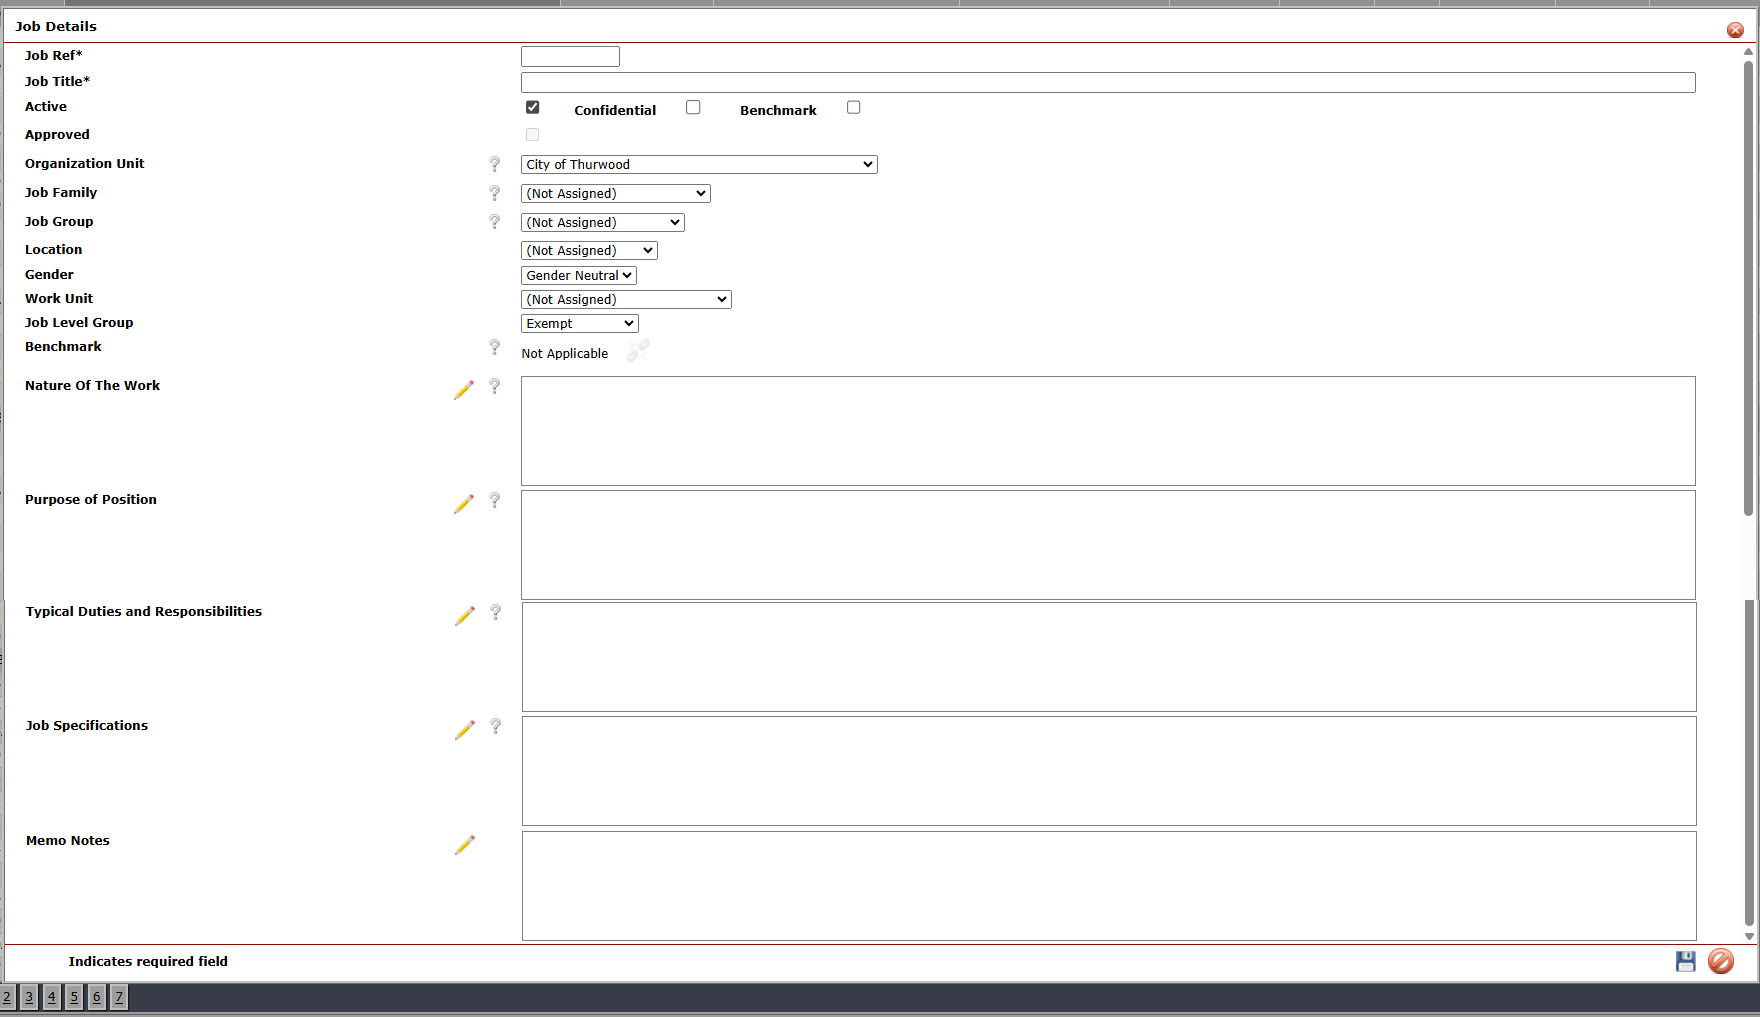
Generate with AI


Generate with AI |
|
|
Using artificial intelligence to structure job accountabilities and technical requirements rather than relying solely on manual, human-led assessments. This process converts descriptions into structured and standardized data.
The 'Generate with AI (
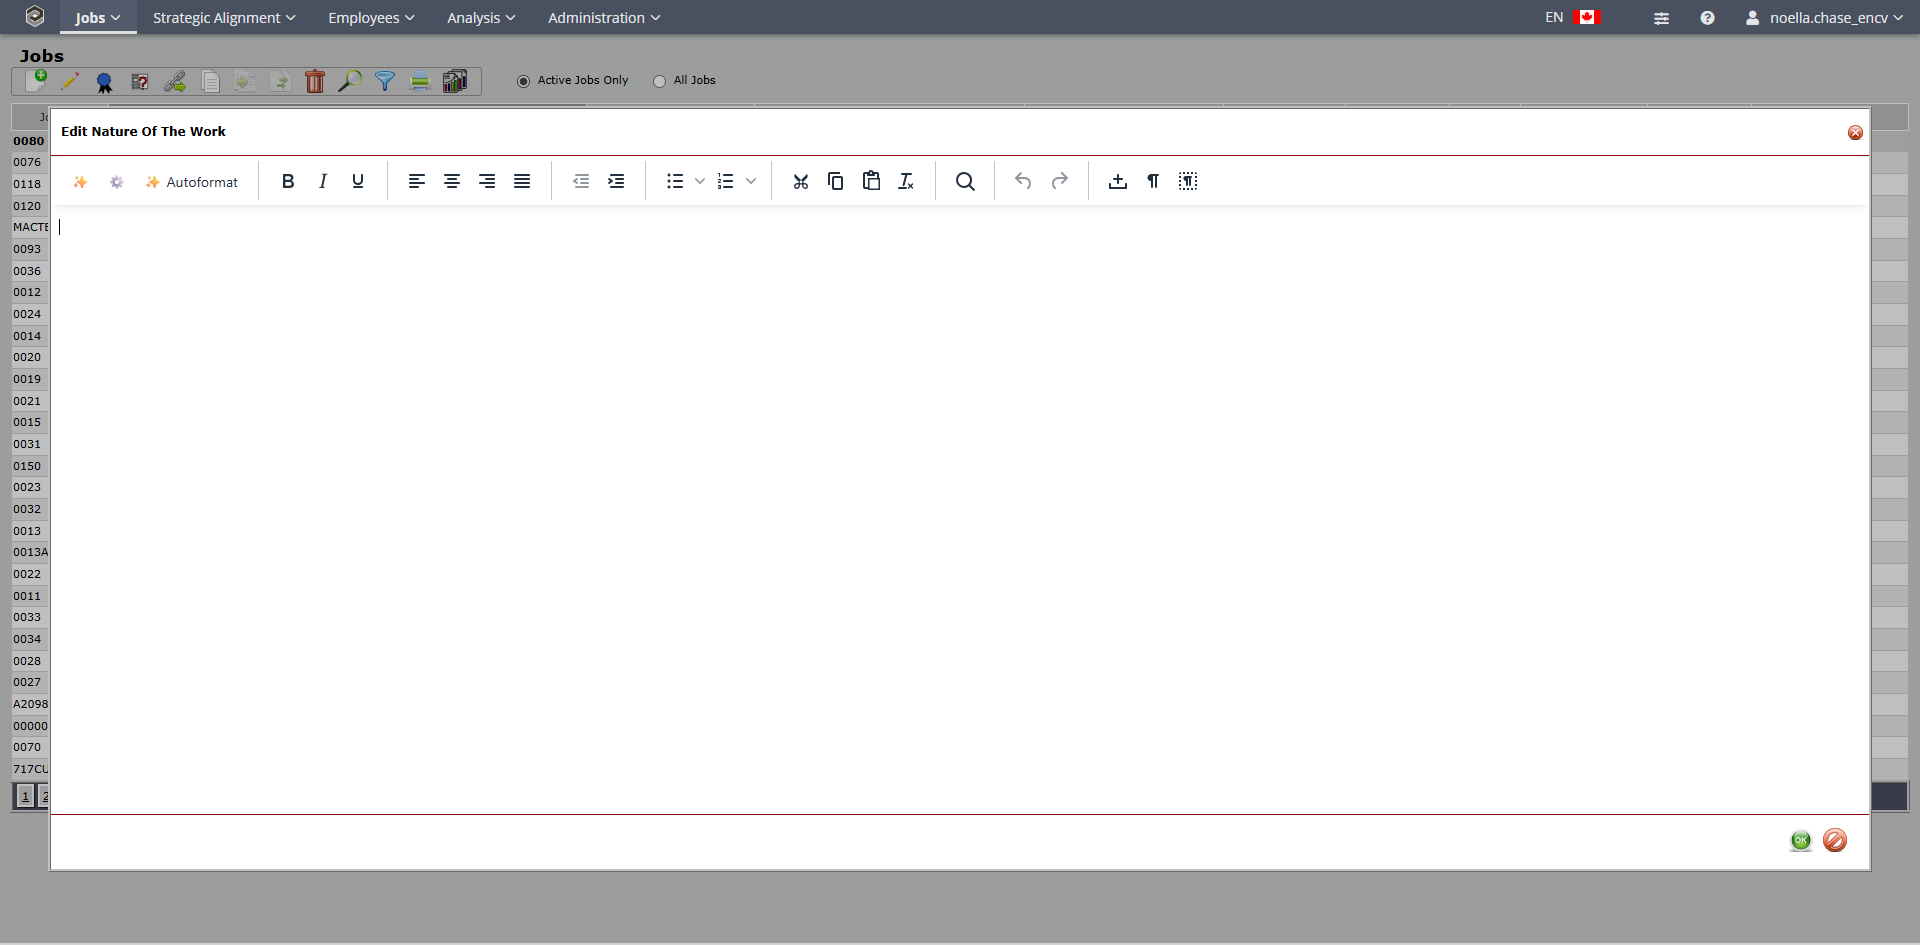
•Click the pencil icon to enter the WYSIWYG editor. •To the left of the screen is an AI icon to generate text in the selected field. oIn this case, Nature of the Work
The AI will generate content for these fields using prompts that will pick up on the following:
•Select a Job you would like to use the AI for. •Double click the job or click on the edit icon to open the detail screen. •Click the pencil icon , •Within the WYSIWYG editor, the AI icon will be available in the editor toolbar.
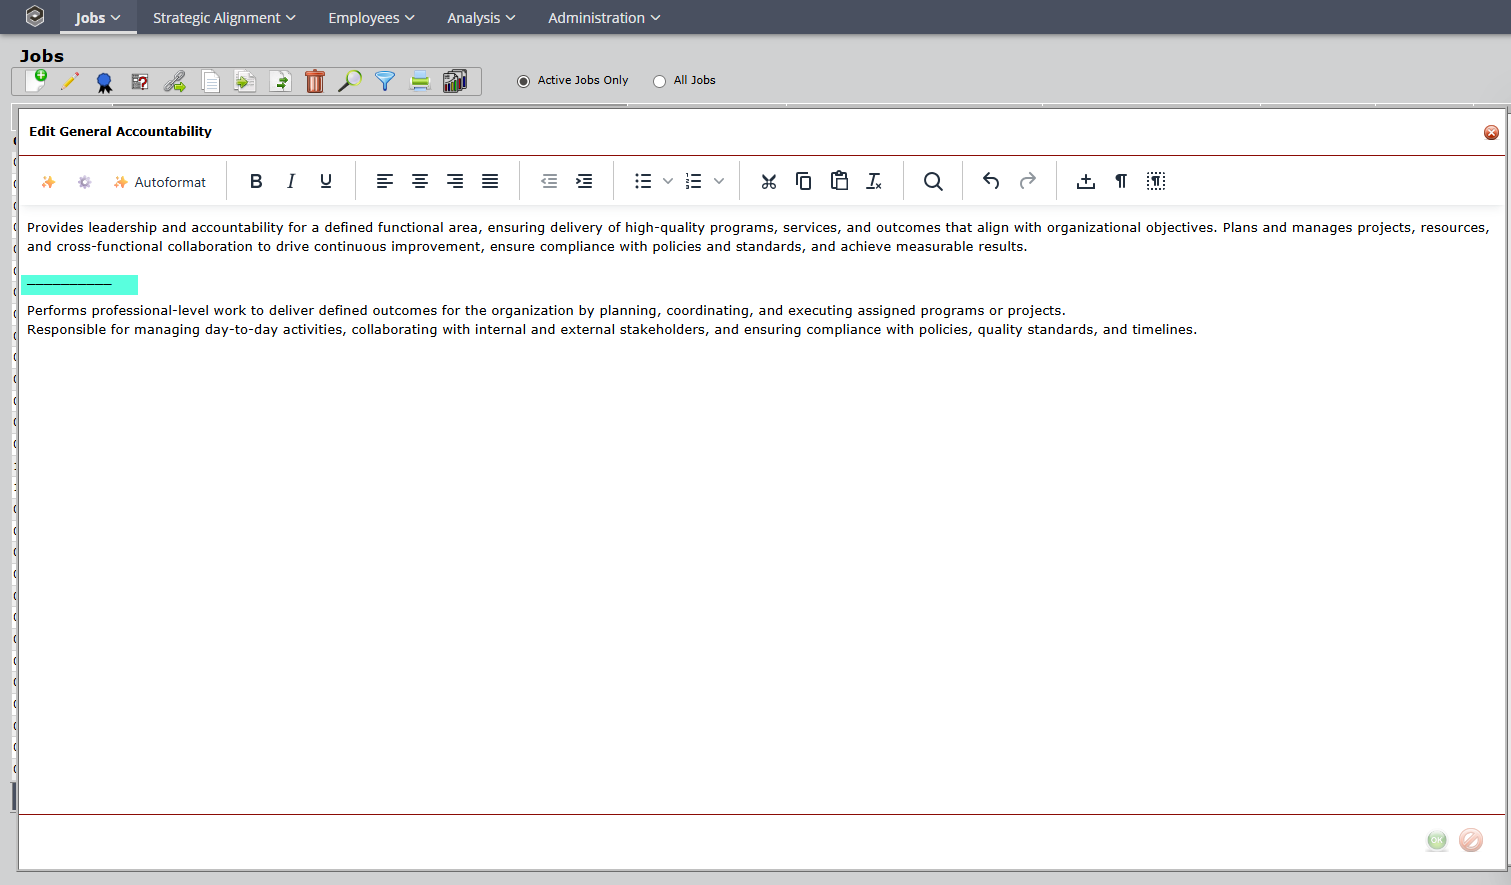
Generate Output •Click the AI Generate icon ( •Wait 2-5 seconds for AI to process (pulsating progress indicator •Generated content appears in the text field section •Iterate and Refine Note: AI will not overwrite your accountability statements or technical requirements. You will want to refine the statements generated to be specific to your organization.
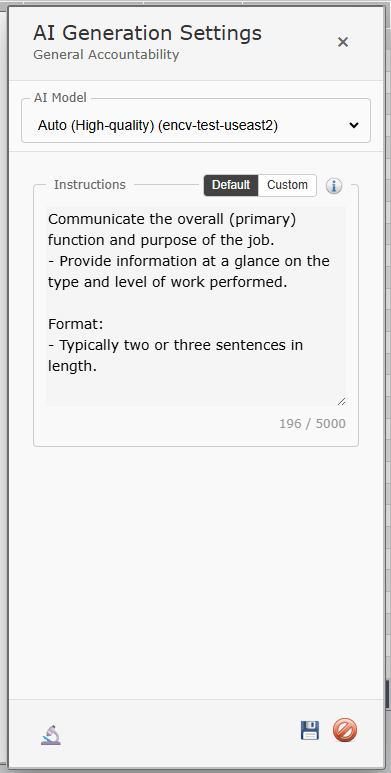
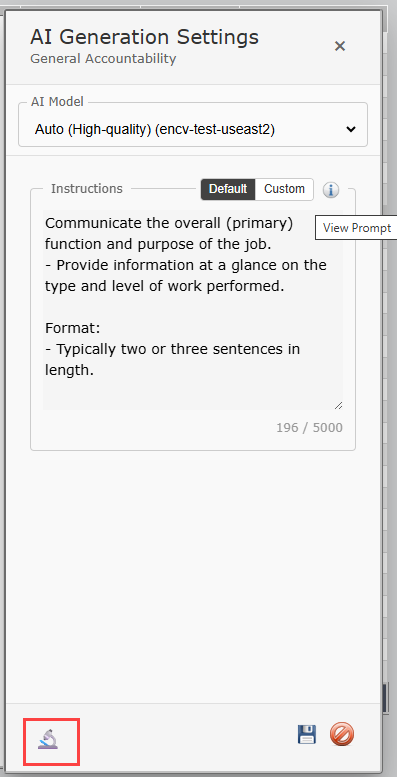
2. If not satisfied, edit the prompt text in the AI Generation Settings panel under custom icon.
•Click Save •Click OK,
Use the AI Generation Settings, Choose the Default, •Select how you want the AI to be instructed: oUse Default Prompt - Uses the system's built-in prompt (recommended for organizations) oUse Custom Prompt - Write your own instructions for how AI should generate content
When using a custom prompt:
Shorter prompts (200-500 characters) tend to produce better results •Focus on 'what' you want, not 'how' the AI should think. •Be specific about format requirements (bullet points, paragraph, etc.)
Note: Always review generated content before using it in production job descriptions: •Check for accuracy •Ensure appropriate tone and professionalism •Verify it matches your organization's voice
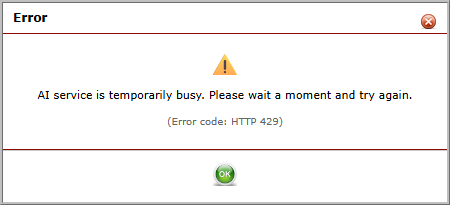
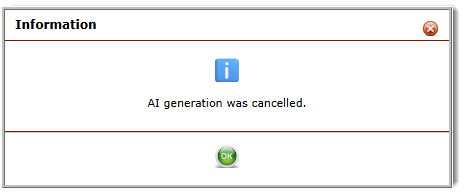
Understanding the Messaging
Canceling AI Generation If you decide you want to cancel the generation of the AI text, click the
Single Prompt ArchitectureThe AI generation uses a single prompt approach. One Prompt: All context, job data, and instructions are combined into a single system prompt User Instructions Embedded: The user's custom instructions (if any) are injected directly into the prompt in the "Instructions for Writing the '{Field}' Field" section Minimal User Message: The actual user message sent to the AI is simply "Generate now."
"View Prompt" button,
How it Works 1.The system builds a comprehensive prompt containing: oRole and context (Encompassing Visions software) oCurrent job data (title and existing fields) oFormatting rules oInstructions section - either default field-specific guidelines OR user's custom instructions 2.When user clicks "Generate with AI": oIf "Default" mode: Uses built-in field-specific writing guidelines oIf "Custom" mode: User's custom instructions replace the default guidelines in the prompt 3.The user can click "View Prompt" to see exactly what will be sent to the AI, including their custom instructions The default instructions for each of the job fields only pertains to the Encompassing Visions default terms. So if the default term is changed, for example - Nature of the Work to something else, the user will need to be sure to switch the Instructions from Default to Custom and enter something there that's appropriate for the new term. Note: One thing, that is set up for the AI: name of the new field. You can see this when viewing the prompt. When you save a custom prompt, it saves it for that field (such as "Reports To:" or whatever the Nature of the work field is), and it saves it for all jobs. Same with the model: it saves it on a per-field basis, for all Jobs. If there are certain fields that have explicit per-field model settings, they do not pick up on the system default-they will use there own configured model. To fix: If you want General Accountabilities and Nature of the Work to use your system default (Gemini 3 Pro), you need to clear their per-field model settings: 1.Go to Jobs > Edit a job > AI Settings (the WYSIWYG editor settings) 2.For General Accountabilities, set the model dropdown to "Default" 3.For Nature of the Work, set the model dropdown to "Default" Once those are set to Default, they will inherit from the system default like the other fields. Note: You may need to refresh the Jobs.aspx page after changing a default for the change to take effect
When reviewing the AI prompt, you may choose to try different models. This can be done through the AI Evaluator Settings. Click on the
AI Policy Settings If the organization chooses not to use AI generation, for their Job descriptions, there are policies set up under Job Settings>Job Description to enable/disable them.
|